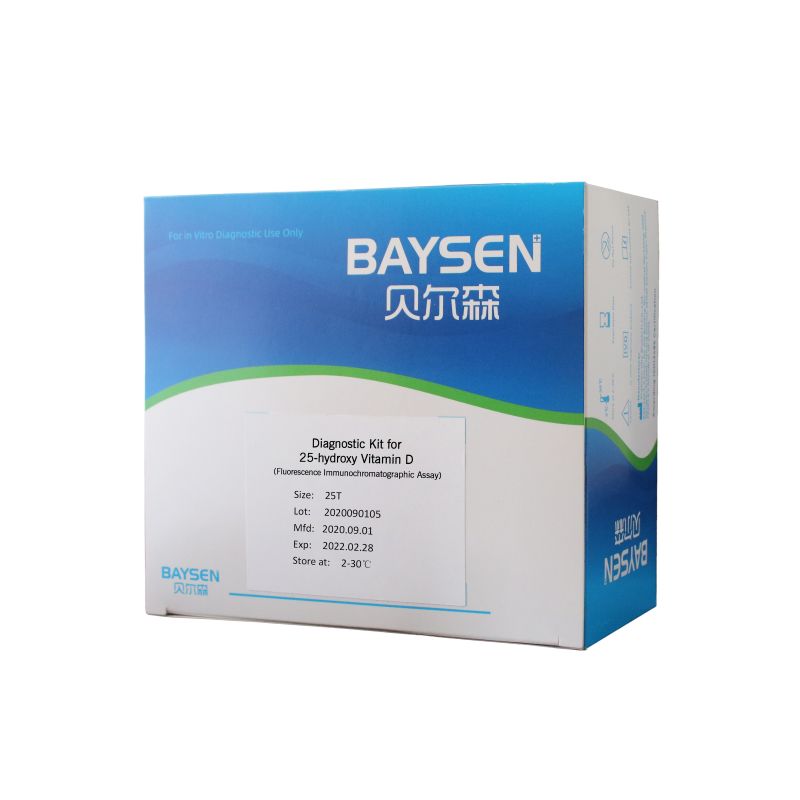
Diagnostic Kit for 25-hydroxy Vitamin D
1. INTEDED USE
This kit is intended for the in vitro quantitative detection of 25-hydroxy Vitamin D (25-OH Vitamin D) in human serum/plasma samples to evaluate the level of Vitamin D. The kit only provides test result of 25-hydroxy Vitamin D. The obtained result shall be analyzed in combination with other clinical information. It must only be used by healthcare professionals.
2. PRODUCT SPECIFICATION
| Model No. | 25-(OH) VD |
| Methodology | Fluorescence Immunochromatographic Assay |
| Sample Type | serum/plasma |
| Time to Result | 10-15mins |
| Storage | 2~30 ℃/36~86℉ |
| Shelf Life | 24 months |
| Certificate | ISO13485,CE,MHRA |
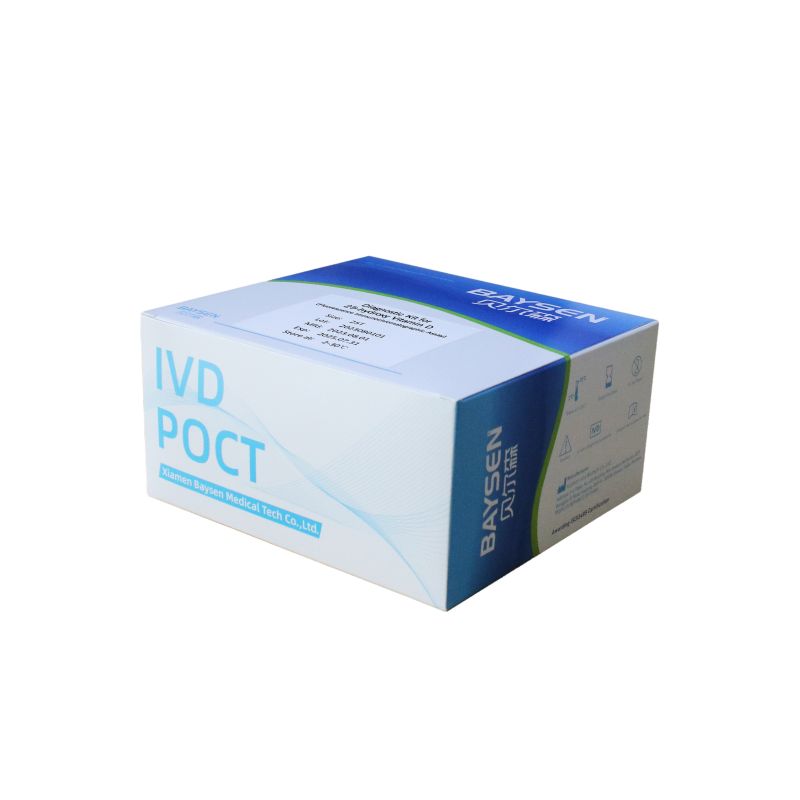
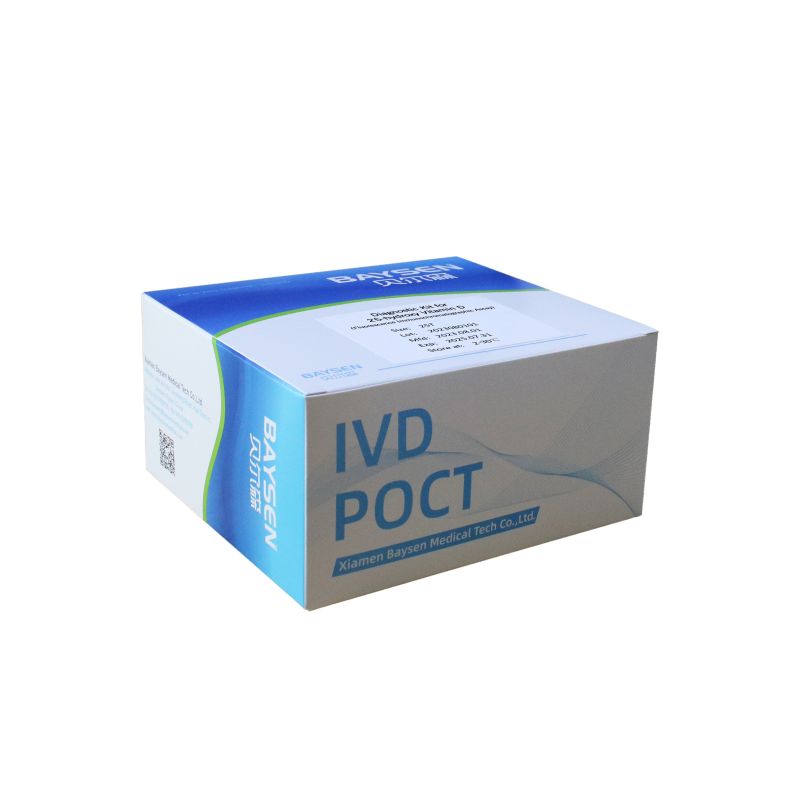
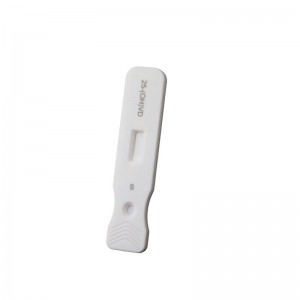
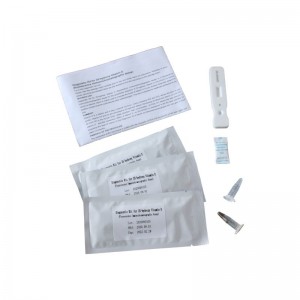
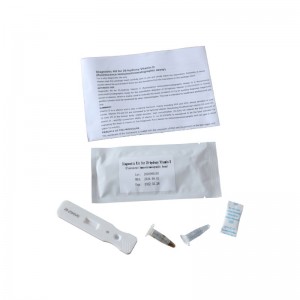
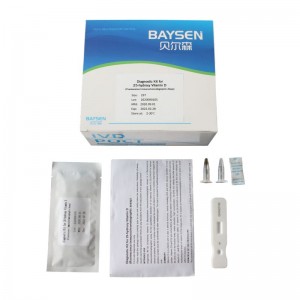
| MAIN KIT COMPONENTS: *Test device *A solution *B tube *Instructions for Use |
Packing: *25 test /kit *Aluminum foil bag labeling *shrink wrap |
3.TEST METHOD
| 1 | Read the instruction for use and test operation manual completely before the test and restore the reagent to room temperature before the test. Do not perform the test without restoring the reagent to room temperature to avoid affecting the accuracy of the test results. |
| 2 | Select standard test mode of WIZ-A101 portable immune analyzer |
| 3 | Open the aluminum foil bag package of reagent, and take out the test device; |
| 4 | Horizontally insert the test device into the slot of immune analyzer; |
| 5 | On home page of operation interface of immune analyzer, click “Standard” to enter test interface; |
| 6 | Click “QC Scan” to scan the QR code on inner side of the kit; input kit related parameters into instrument, and select sample type; Note: Each batch number of the kit shall be scanned for one time. If the batch number has been scanned, then skip this step; |
| 7 | Check the consistency of “Product Name”, “Batch Number” etc. on test interface with information on the kit label; |
| 8 | After information consistency is confirmed, start adding sample: tep 1: Slowly draw 30µL of serum/plasma sample at a time. Be cautious not to draw bubbles. Step 2: Add the drawn sample into A Solution (transparent centrifuge tube), draw and blow for 3-4 times (note: the liquid in bottle cap shall be drawn into the bottle); Step 3: Add all mixed solution in A solution (transparent centrifuge tube) into B tube (red centrifuge tube), stir evenly (note: ensure that the marker pad is immersed in liquid), and incubate at 37℃ for 8 minutes; Step 4: Pipette 80µL of the liquid in step 3 into the sample hole of test device. Avoid drawing bubble during sampling. |
| 9 | After complete sample addition, click “Timing” and remaining test time will be automatically displayed on the interface. |
| 10 | Immune analyzer will automatically complete test and analysis when test time is reached. |
| 11 | Result calculation and display After test by immune analyzer is completed, test result will be displayed on test interface or can be viewed through “History” on home page of operation interface. |
4.CLINICAL PERFORMANCE
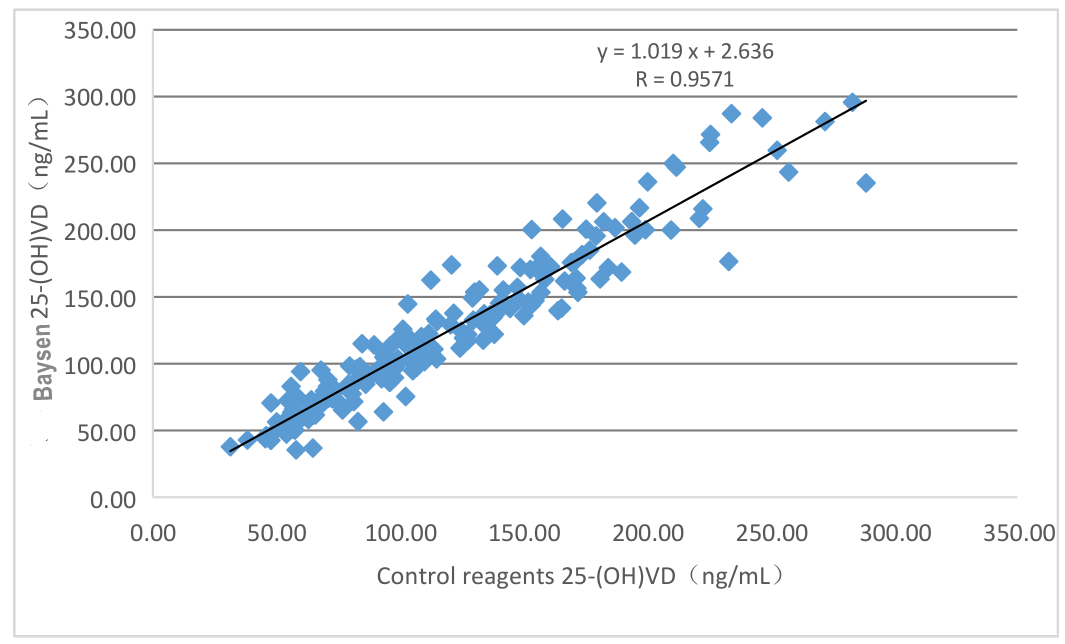
Clinical evaluation performance of the product is assessed through collecting 196 clinical samples. The results are compared by using the corresponding kit of marketed chemiluminescence kit as the reference reagent. Use linear regression to investigate their comparability. Use linear regress to investigate their comparability. The correlation coefficients of the two tests are Y=1.019X-2.636 and R=0.9571, respectively.
5. CERTIFICATE
* ISO System Certificate
* CE Certificate
* EU Registration
* UCKA MHRA Registration
